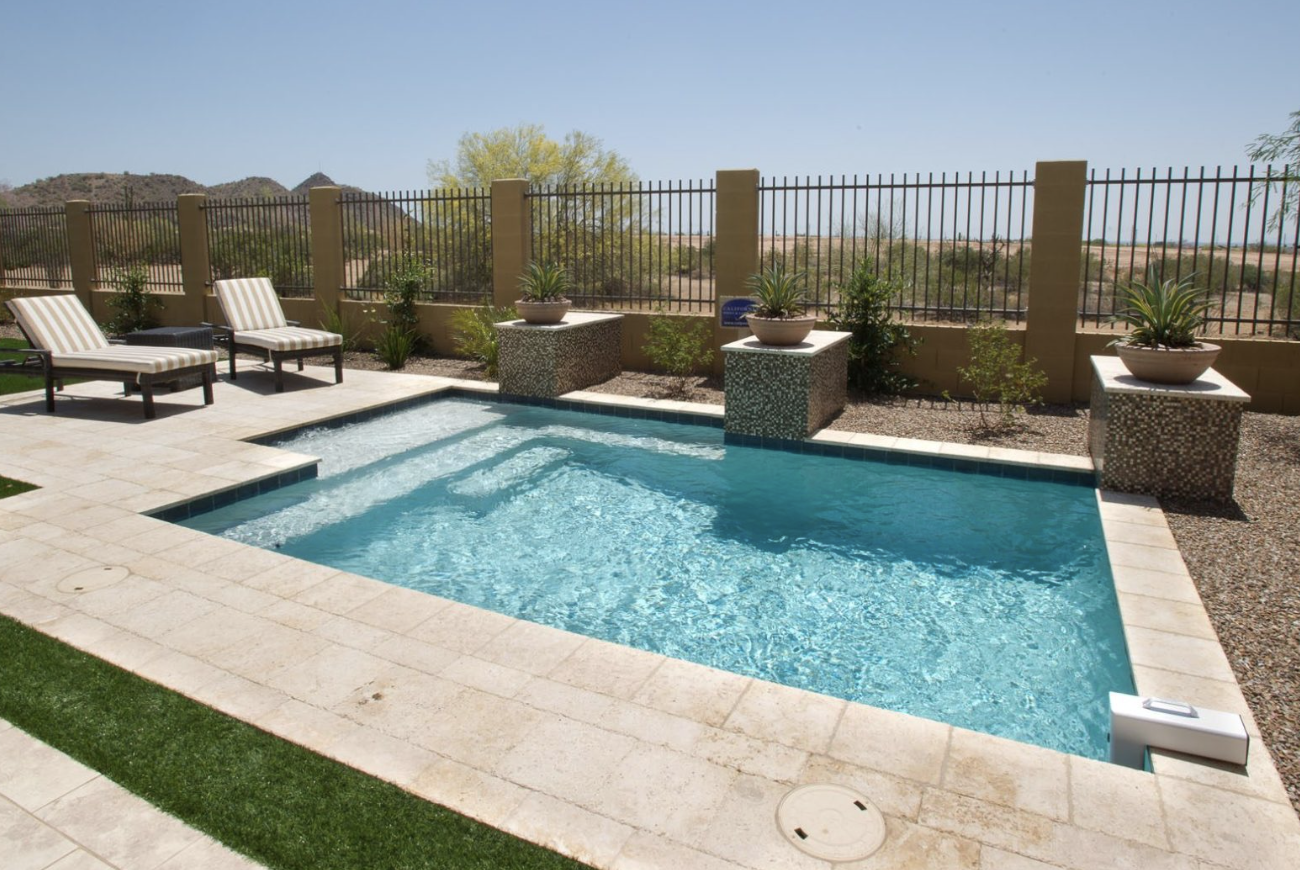
The heat is rising in Las Vegas. That can only mean one thing: swim season is just around the corner! After cooler weather, the thought of a refreshing dip in your own pool is undoubtedly enticing. But before you grab your swimsuit and jump in, there are some essential steps to take to ensure your pool is clean, safe, and ready for fun.
This comprehensive Spring Pool Opening Checklist will guide you through the process, making sure you don’t miss a thing and can enjoy a sparkling clean pool all season long.
Phase 1: The Big Reveal & Initial Cleanup. If you are using a Pool Maintenance Service like PoolStar. We will be keeping your pool in good order each week. If servicing your own pool:
- Remove the Pool Cover: Carefully take off your winter cover. Clean it thoroughly with a pool cover cleaner, rinse it, and allow it to dry completely before storing it. This will prevent mildew and extend its lifespan.
- Clear Away Debris: Remove any leaves, branches, or other debris that may have accumulated on the pool deck, coping, and around the pool.
- Inspect the Pool Shell: Check for any cracks, chips, or damage to the pool surface. Address any minor issues promptly to prevent them from becoming bigger problems later.
- Check Water Level: If you drained some water for the winter, now is the time to assess the current water level. It should ideally be in the middle of the skimmer opening.
Phase 2: Getting the System Running. PoolStar serves Las Vegas, Henderson, Summerlin and many other incorporated and unincorporated areas of the Las Vegas Valley. We take care of the following so you don’t have to:
- Reinstall Drain Plugs and Fittings: If you removed any drain plugs or fittings for the winter, ensure they are properly reinstalled and tightened.
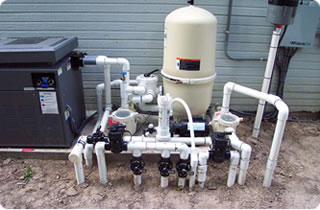
- Inspect Plumbing and Equipment: Examine all pipes, hoses, valves, and connections for any signs of leaks, cracks, or damage. Tighten any loose fittings.
- Check the Pump and Filter:
- Pump: Ensure the pump basket is clean and free of debris. Check the pump motor for any signs of damage or corrosion.
- Filter: Inspect the filter tank, whether it’s sand, cartridge, or DE. Clean or replace the filter media as needed according to the manufacturer’s instructions.
- Lubricate O-Rings: Lubricate all O-rings on pumps, filters, and valves with a silicone-based lubricant to ensure a watertight seal.
- Turn on the Power: Once you’re confident that everything is connected correctly, slowly turn the power back on to your pool equipment.
- Prime the Pump: Follow the manufacturer’s instructions to prime your pool pump. This removes air from the system and allows the pump to circulate water properly.
- Start the Circulation System: Turn on the pump and check for any leaks in the plumbing and equipment. Ensure water is circulating properly through the skimmer(s), pump, filter, and return jets.
Phase 3: Water Chemistry and Balancing. This is one of the most important roles of your pool service provider. PoolStar technicians are fully trained and certified as pool operators (cpo) specializing in the following items so that you don’t have to be the expert:
- Testing the Water: Once the water is circulating, take a sample to a local pool supply store for a comprehensive water test. This will give you accurate readings for pH, alkalinity, calcium hardness, cyanuric acid (stabilizer), and any metals.
- Adjusting Water Chemistry: Based on the test results, add the necessary chemicals to balance your pool water. Follow the chemical manufacturer’s instructions carefully.
- pH: Aim for a range of 7.2 to 7.6.
- Total Alkalinity: Aim for a range of 80 to 120 ppm.
- Calcium Hardness: Aim for a range of 200 to 400 ppm (for concrete/plaster pools) or 150 to 250 ppm (for vinyl/fiberglass pools).
- Cyanuric Acid (Stabilizer): Aim for a range of 30 to 50 ppm for unstabilized chlorine.
- Shocking the Pool: After balancing the water, it’s crucial to “shock” the pool with a high dose of chlorine to kill any lingering bacteria or algae. Follow the product instructions for the correct dosage.
- Running the Filter: Keep your filter running continuously for at least 24-48 hours after shocking the pool to help circulate the chemicals and clear the water.
Phase 4: Final Touches & Safety Checks.
- Clean the Pool: Once the water is circulating and the initial shock treatment has done its work, vacuum the pool thoroughly to remove any remaining debris that settled at the bottom. Brush the walls and floor of the pool. PoolStar brushes and vacuums every week at every pool and we bring in our own high-quality brush and high-powered vacuums to get the job done.
- Inspect Ladders and Handrails: Ensure your pool ladders and handrails are secure and in good condition. Tighten any loose bolts.
- Check Safety Equipment: Verify that your safety equipment, such as life rings and shepherd’s hooks, are readily accessible and in good working order.
- Clean the Pool Deck: Sweep or hose down the pool deck area to create a clean and inviting space.
- Enjoy Your Sparkling Pool! Once you’ve completed all the steps and your water is clear and balanced, it’s time to grab your towel and enjoy the refreshing waters of your newly opened pool!
Pro Tip for Las Vegas Pool Owners: Shade is Your Friend (and Your Pool’s Too!)
The intense Las Vegas sun can not only make the pool deck scorching hot but also rapidly degrade chlorine and increase algae growth. Consider investing in shade solutions for parts of your pool area, such as shade sails, pergolas, or even strategically planted desert-adapted trees. This will provide a cooler and more comfortable lounging experience, help with chlorine consumption, and help inhibit algae blooms, ultimately making your pool more enjoyable.
Getting ready for the pool for the season doesn’t have to be a daunting task especially if you have PoolStar in your corner. Find out why we are highly-rated and have been serving the Las Vegas Valley as a small, local, family-owned business for almost 20 years!. We take care of most of the items above, leaving you with more time to relax and enjoy your beautiful pool. Happy swimming!